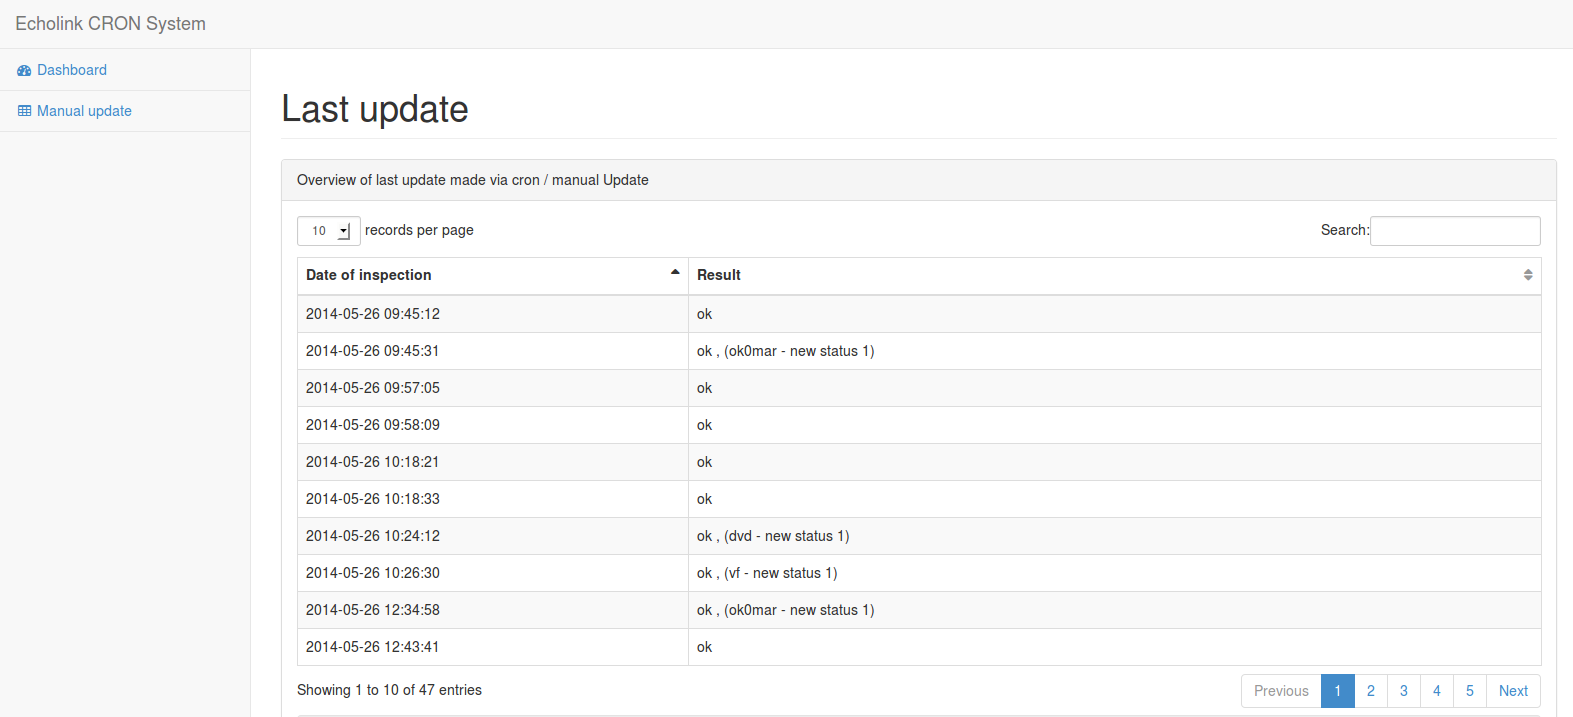
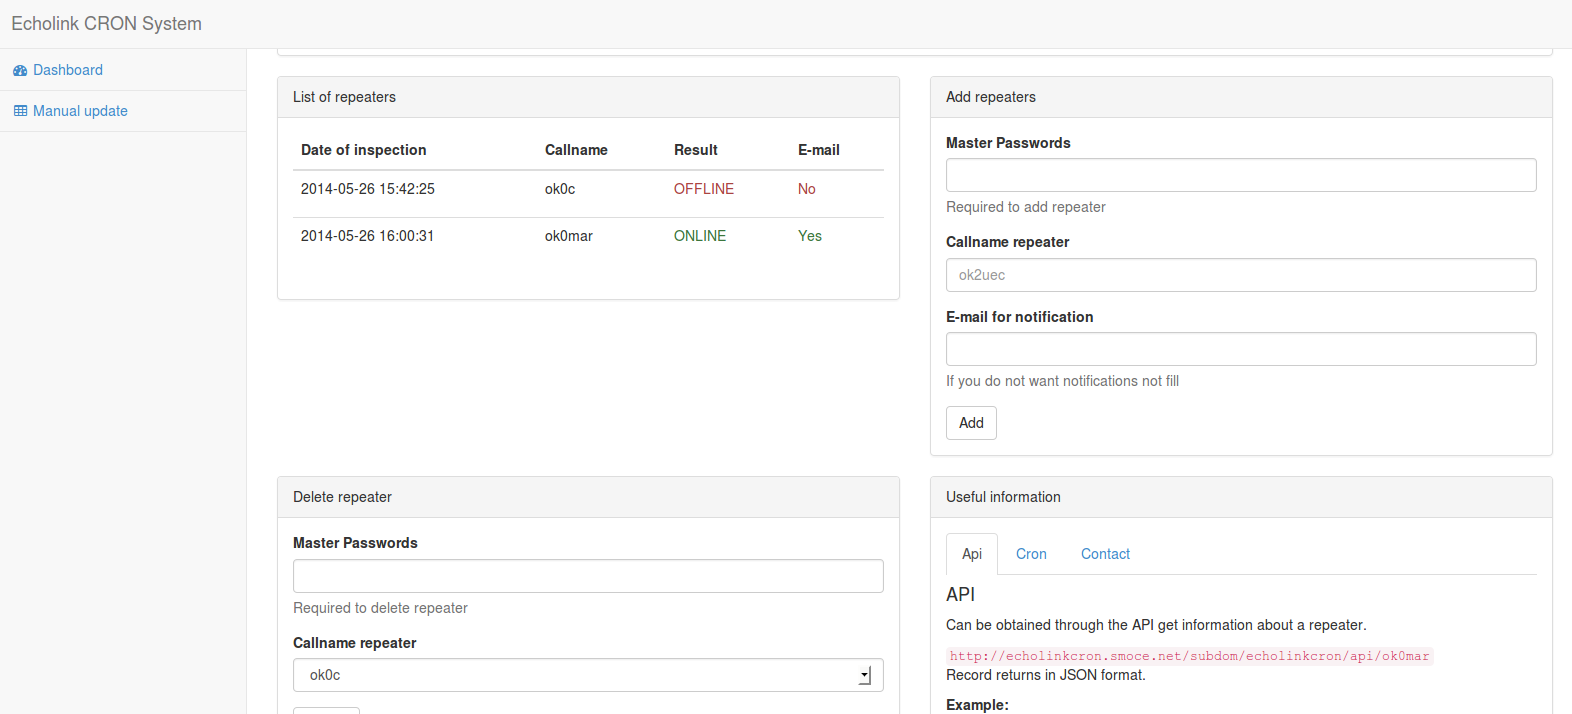
Echolink-CRON-System
EchoLink system for monitoring the condition of a subsequent mission email, (*1)
MY Demo - http://echolinkcron.smoce.net/, (*2)
1) Installing the Standard Edition
When it comes to installing the Echolink CRON System Standard Edition, you have the
following options., (*3)
Use Composer (recommended)
As Symfony uses [Composer][2] to manage its dependencies, the recommended way
to create a new project is to use it., (*4)
If you don't have Composer yet, download it following the instructions on
http://getcomposer.org/ or just run the following command:, (*5)
curl -s http://getcomposer.org/installer | php
Then, use the create-project command to generate a new Symfony application:, (*6)
php composer.phar create-project ok2uec/echolink-cron-system path/to/install
Composer will install App and all its dependencies under the
path/to/install directory., (*7)
2) Setting your MYSQL DB
Before starting coding, make sure that your setting table in db server., (*8)
--
-- Table structure for table `echolink_history`
--

CREATE TABLE IF NOT EXISTS `echolink_history` (
  `id` int(11) NOT NULL AUTO_INCREMENT,
  `checkDate` datetime NOT NULL,
  `text` text NOT NULL,
  PRIMARY KEY (`id`)
) ENGINE=InnoDB  DEFAULT CHARSET=latin1 AUTO_INCREMENT=1 ;

--
-- Table structure for table `echolink_node`
--
CREATE TABLE IF NOT EXISTS `echolink_node` (
  `id` int(11) NOT NULL AUTO_INCREMENT,
  `callname` text NOT NULL,
  `checkDate` datetime NOT NULL,
  `status` tinyint(1) NOT NULL,
  `email` text NOT NULL,
  PRIMARY KEY (`id`)
) ENGINE=InnoDB  DEFAULT CHARSET=latin1 AUTO_INCREMENT=1 ;
3) Setting MYSQL in index.php
Another important part is to set the login to the system to mysql, (*9)
#index.php
define("host", "localhost", true);
define("username", "name", true);
define("password", "pass", true);
define("database", "dbname", true);
4) Master password
used for adding and removing smugglers from the system., (*10)
#index.php
define("masterPassword", "youpassword456", true);
 , (*11)
 , (*12)
 Wallogit.com
