16/05
2018
 Wallogit.com
2017 © Pedro Peláez
Wallogit.com
2017 © Pedro Peláez
library laravel-installer
Laravel web installer

froiden/laravel-installer
Laravel web installer
- Wednesday, May 16, 2018
- by ajayfroiden
- Repository
- 4 Watchers
- 20 Stars
- 1,133 Installations
- PHP
- 0 Dependents
- 0 Suggesters
- 6 Forks
- 2 Open issues
- 6 Versions
- 9 % Grown
The README.md
Laravel Web Installer
, (*1)
Laravel Web installer checks for the following things and installs the application in one go., (*2)
- Check For Server Requirements.
- Check For Folders Permissions.
- Ability to set database information.
- Migrate The Database.
- Seed The Tables.
Note:
You need to have .env to the root, (*3)
Installation
1) If you are running Laravel 5 or above :, (*4)
composer require froiden/laravel-installer:1.9.0
OR add this line to composer.json, (*5)
"require": {
    "froiden/laravel-installer": "1.9.0"
}
2) If you are running Laravel 11 or above :, (*6)
composer require froiden/laravel-installer:11.0.0
OR add this line to composer.json, (*7)
"require": {
    "froiden/laravel-installer": "11.0.0"
}
After updating the composer, add the ServiceProvider to the providers array in config/app.php., (*8)
'providers' => [
    Froiden\LaravelInstaller\Providers\LaravelInstallerServiceProvider::class,
];
For laravel version 11.x and greater, add the serviceprovider to the providers array in bootstrap/providers.php., (*9)
[
    Froiden\LaravelInstaller\Providers\LaravelInstallerServiceProvider::class,
];
Usage
Before using this package you need to run :, (*10)
php artisan vendor:publish --provider="Froiden\LaravelInstaller\Providers\LaravelInstallerServiceProvider"
You will notice additional files and folders appear in your project :, (*11)
-
config/installer.php: Set the requirements along with the folders permissions for your application to run, by default the array contains the default requirements for a basic Laravel app. -
public/installer/assets: This folder contains a css folder and inside it you will find amain.cssfile, this file is responsible for the styling of your installer, you can overide the default styling and add your own. -
resources/views/vendor/installer: Contains the HTML code for your installer. -
resources/lang/en/installer_messages.php: This file holds all the messages/text.
Installing your application
-
Install: In order to install your application, go to the
/installurl and follow the instructions.
Screenshots
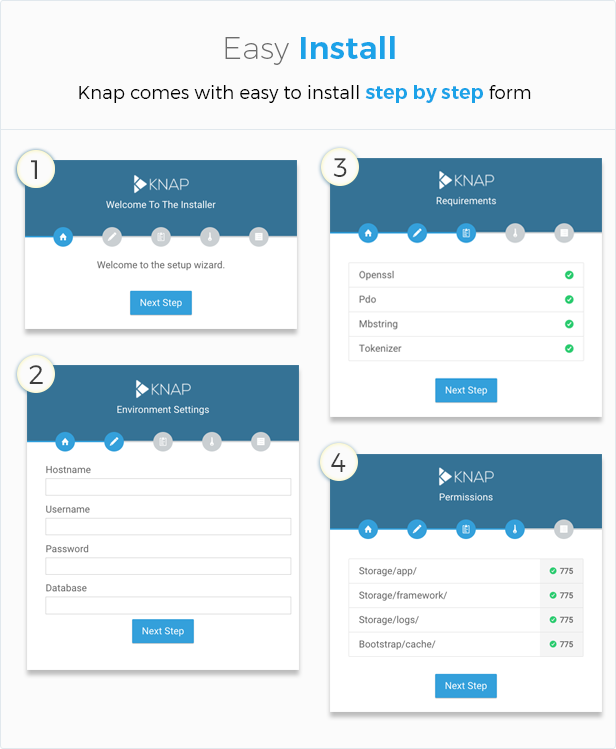 , (*12)